DIY Snow Globe Ornaments - Fun Christmas Crafts
Published November 2, 2016
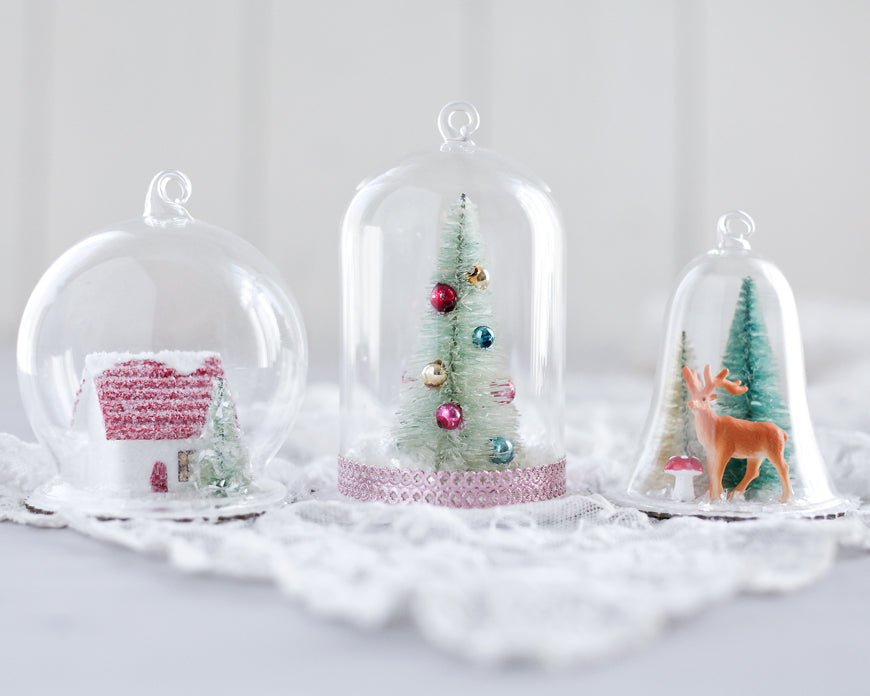
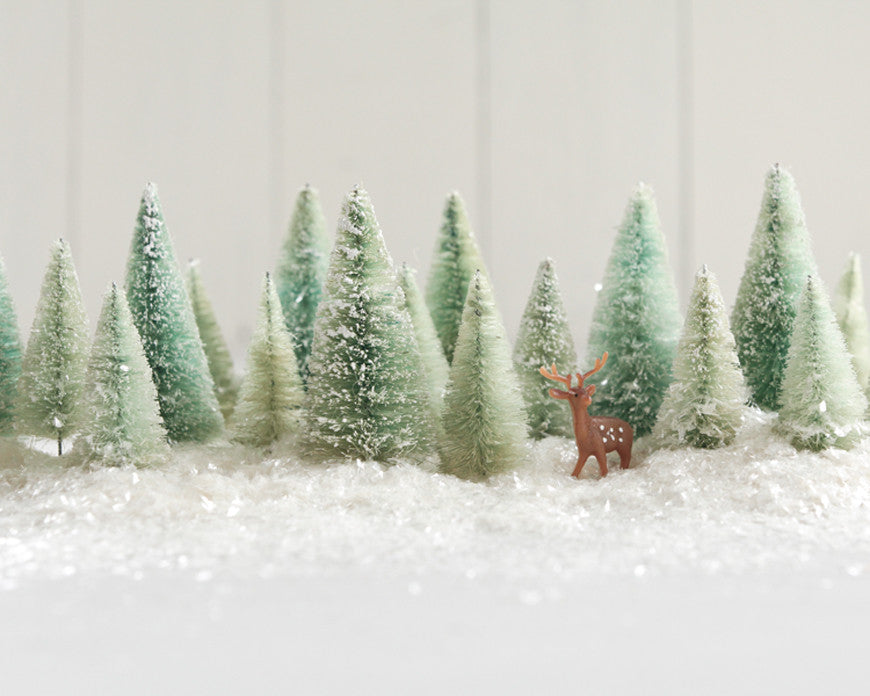
These DIY Snow Globe Ornaments have a great vintage style, and are so fun to make! There are three style of glass ornaments: a globe, dome, and bell-shaped cloche. You can use all sorts of miniatures to create fanciful scenes inside. Maybe collect vintage ornaments you'd like to preserve under the glass, or create a tiny landscape with bottle brush trees and miniature plastic deer.
Supplies:
- DIY Snow Globe Ornament (Update: these glass ornaments have been discontinued)
- DIY Glass Dome Ornament
- DIY Glass Bell-Jar Ornament
- white paint
- Hot glue gun, glue sticks
- white glue
- paint brush
- Snow Crystals Glitter Flakes
- Bottle Brush Trees
- Miniature Deer
- Miniature Putz House
- vintage Dresden trim
- vintage mercury glass beads
- 12mm Spun Cotton Mushroom
Round Snow Globe Ornament:
Step 1: Paint the chipboard base white, let dry.
Step 2: Hot glue a mini putz house to the chipboard base, slightly off center. Add a tiny bottle brush tree, positioning it so that the globe will still fit over the top of the miniatures.
Step 3: With a paint brush, coat the base, as well as the tree with a thin coat of white glue. Sprinkle on some snow crystals glitter flakes, and shake off the excess. Let dry.
Step 4: Apply white glue to the bottom rim of the snow globe, and place it over the miniatures, pressing it down onto the base. Let dry.
Bell Jar Cloche Ornament:
Step 1: Arrange some small bottle brush trees, a plastic deer, and a tiny mushroom on the chipboard base, gluing them down with hot glue.
Step 2: Coat the rest of the chipboard base with glue, and sprinkle with snow crystals glitter flakes. Shake off the excess, and let dry.
Step 3: Apply white glue to the bottom rim of the cloche, and place it over the miniatures, pressing it down onto the base. Let dry.
Glass Dome Ornament:
Step 1: Use hot glue to "decorate" a bottle brush tree with mercury glass beads. Glue the tree to the base.
Step 2: Coat the rest of the chipboard base with glue, and sprinkle with snow crystals glitter flakes. Shake off the excess, and let dry.
Step 3: Upend the glass dome, resting it in a cup, box, or egg carton. Spoon in some faux snow or snow crystals glitter flakes. Paint white glue around the rim of the dome, pick up the base with the tree, and place it on top of the dome, pressing to seal. Let the glue dry, and turn the dome right side up, allowing the loose snow to fall around the tree.
Step 4: Glue a strip of Dresden trim or ribbon around the base of the dome.
Products you might be interested in:


