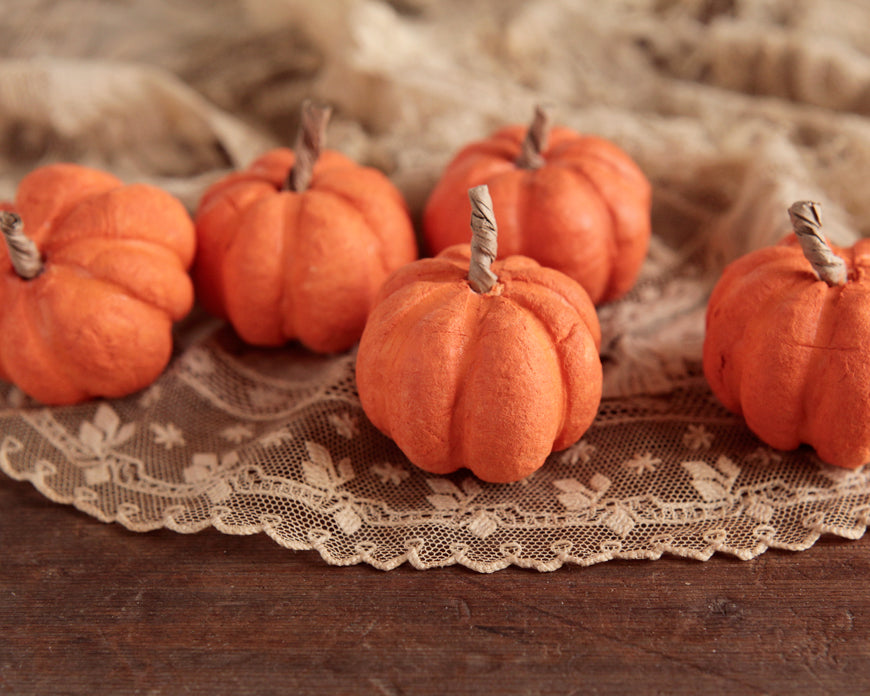
How to Make Spun Cotton Pumpkins! DIY Fall Craft Tutorial

This is such a fun fall craft project! In this tutorial I'm using 45mm spun cotton balls to make adorable little pumpkins. It's quite simple, and they are so pretty. I think they would make lovely place settings for a Halloween or Thanksgiving table, or they can be clustered together on a wreath. Cuteness overload. Make all the pumpkins.
Supplies:
- 45mm Spun Cotton Ball
- 4 rubber bands
- Pumpkin orange paint and paintbrush
- Bowl of water
- White glue
- brown paper bag
Step 1: Wrap 4 rubber bands around a 45mm spun cotton ball. Cross the bands over the hole, and double or triple them so they are tight. Space them evenly around the ball so that they make eight sections.
Step 2: Dip in water to wet the entire surface. Shake off any excess water.
Step 3: Squeeze from top to bottom to make a squat shape. This will also round out the shape of the pumpkin. Let dry completely. Either set it out in the sun, or use a hairdryer to speed up the process.
Step 4: Remove the rubber bands. Either use scissors to snip them away, or carefully unwrap them.
Step 5: Insert a toothpick in the hole. If the hole has closed up under the rubber bands use an awl or the point of some sharp scissors to open it up again.
Step 6: Paint the pumpkin. Use the toothpick as a handle to paint the whole pumpkin at once, or paint one half at a time. Let dry.
Step 7: Cut a rectangle out of paper bag, and twist it to make a stem.
Step 8: Insert the stem. Dip the end of the stem in glue, and twist it into the top of the pumpkin.
Products you might be interested in:


