Make Retro Diorama Ornaments filled with Miniatures - Vintage Christmas Craft Tutorial
 Published December 8, 2017
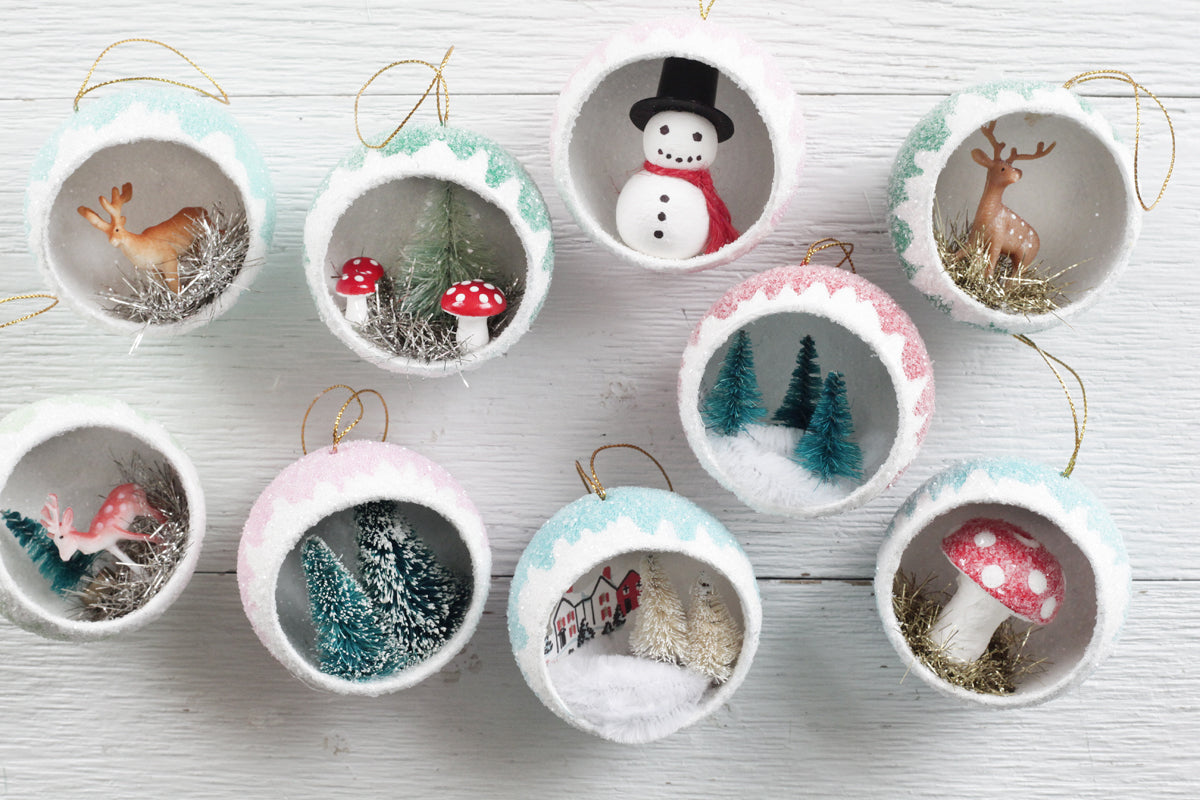
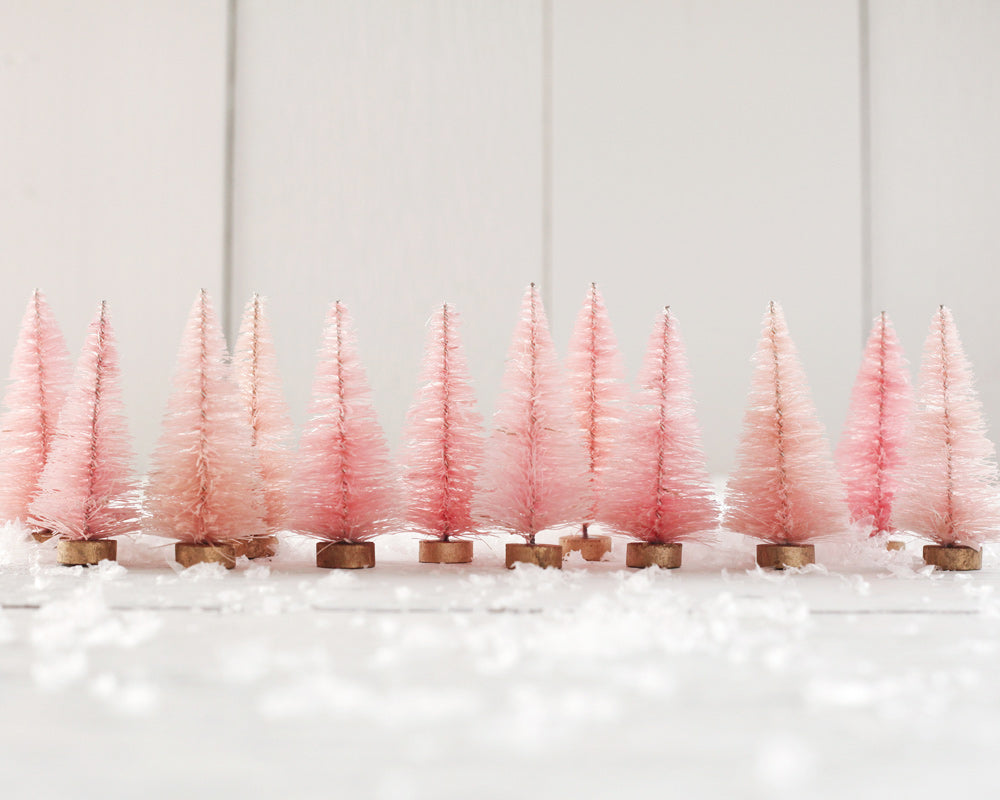
I think one of the funnest ways to create handmade Christmas ornaments is to spend some time just collecting adorable miniatures so that I can paw through a pile of supplies when inspiration strikes. Making diorama ornaments has become an annual tradition for me, and I love playing around with different themes and scenes. In this tutorial, I'm making some 1950s-inspired dioramas with miniature plastic deer, some sisal trees, tinsel, and spun cotton. The diorama forms are painted, and then glittered with clear glitter that takes on the look of frost when the glue dries. The diorama forms are here in the shop, and many of the cute little goodies are in the miniature section of the shop as well.
Supplies:
Step 1:
Paint the outside of the diorama ornament in your chosen color. Let dry.
Step 2:
Paint the inside of the ornament white. Then, using the edge of your paintbrush, paint a decorative snowy design along the outer rim of the ornament's opening. Once dry, apply a second coat of white paint so that it is opaque. Let dry fully.
Step 3:
Coat the entire outside of the ornament with a thin, even coat of white glue. Sprinkle clear glitter over the entire surface, and shake off the excess. Let dry, and then repeat the process for the inside of the ornament. Let dry.
Step 4:
Come up with an arrangement of miniatures and trims to fill the ornament. Sisal trees can be cut to fit inside the ornament with a pair of wire snips. Once you have your scene planned out, use a hot glue gun to attach all of the items to the inside of the ornament.
PIN ME:


