Tips for Drawing Vintage Faces on Spun Cotton Doll Heads
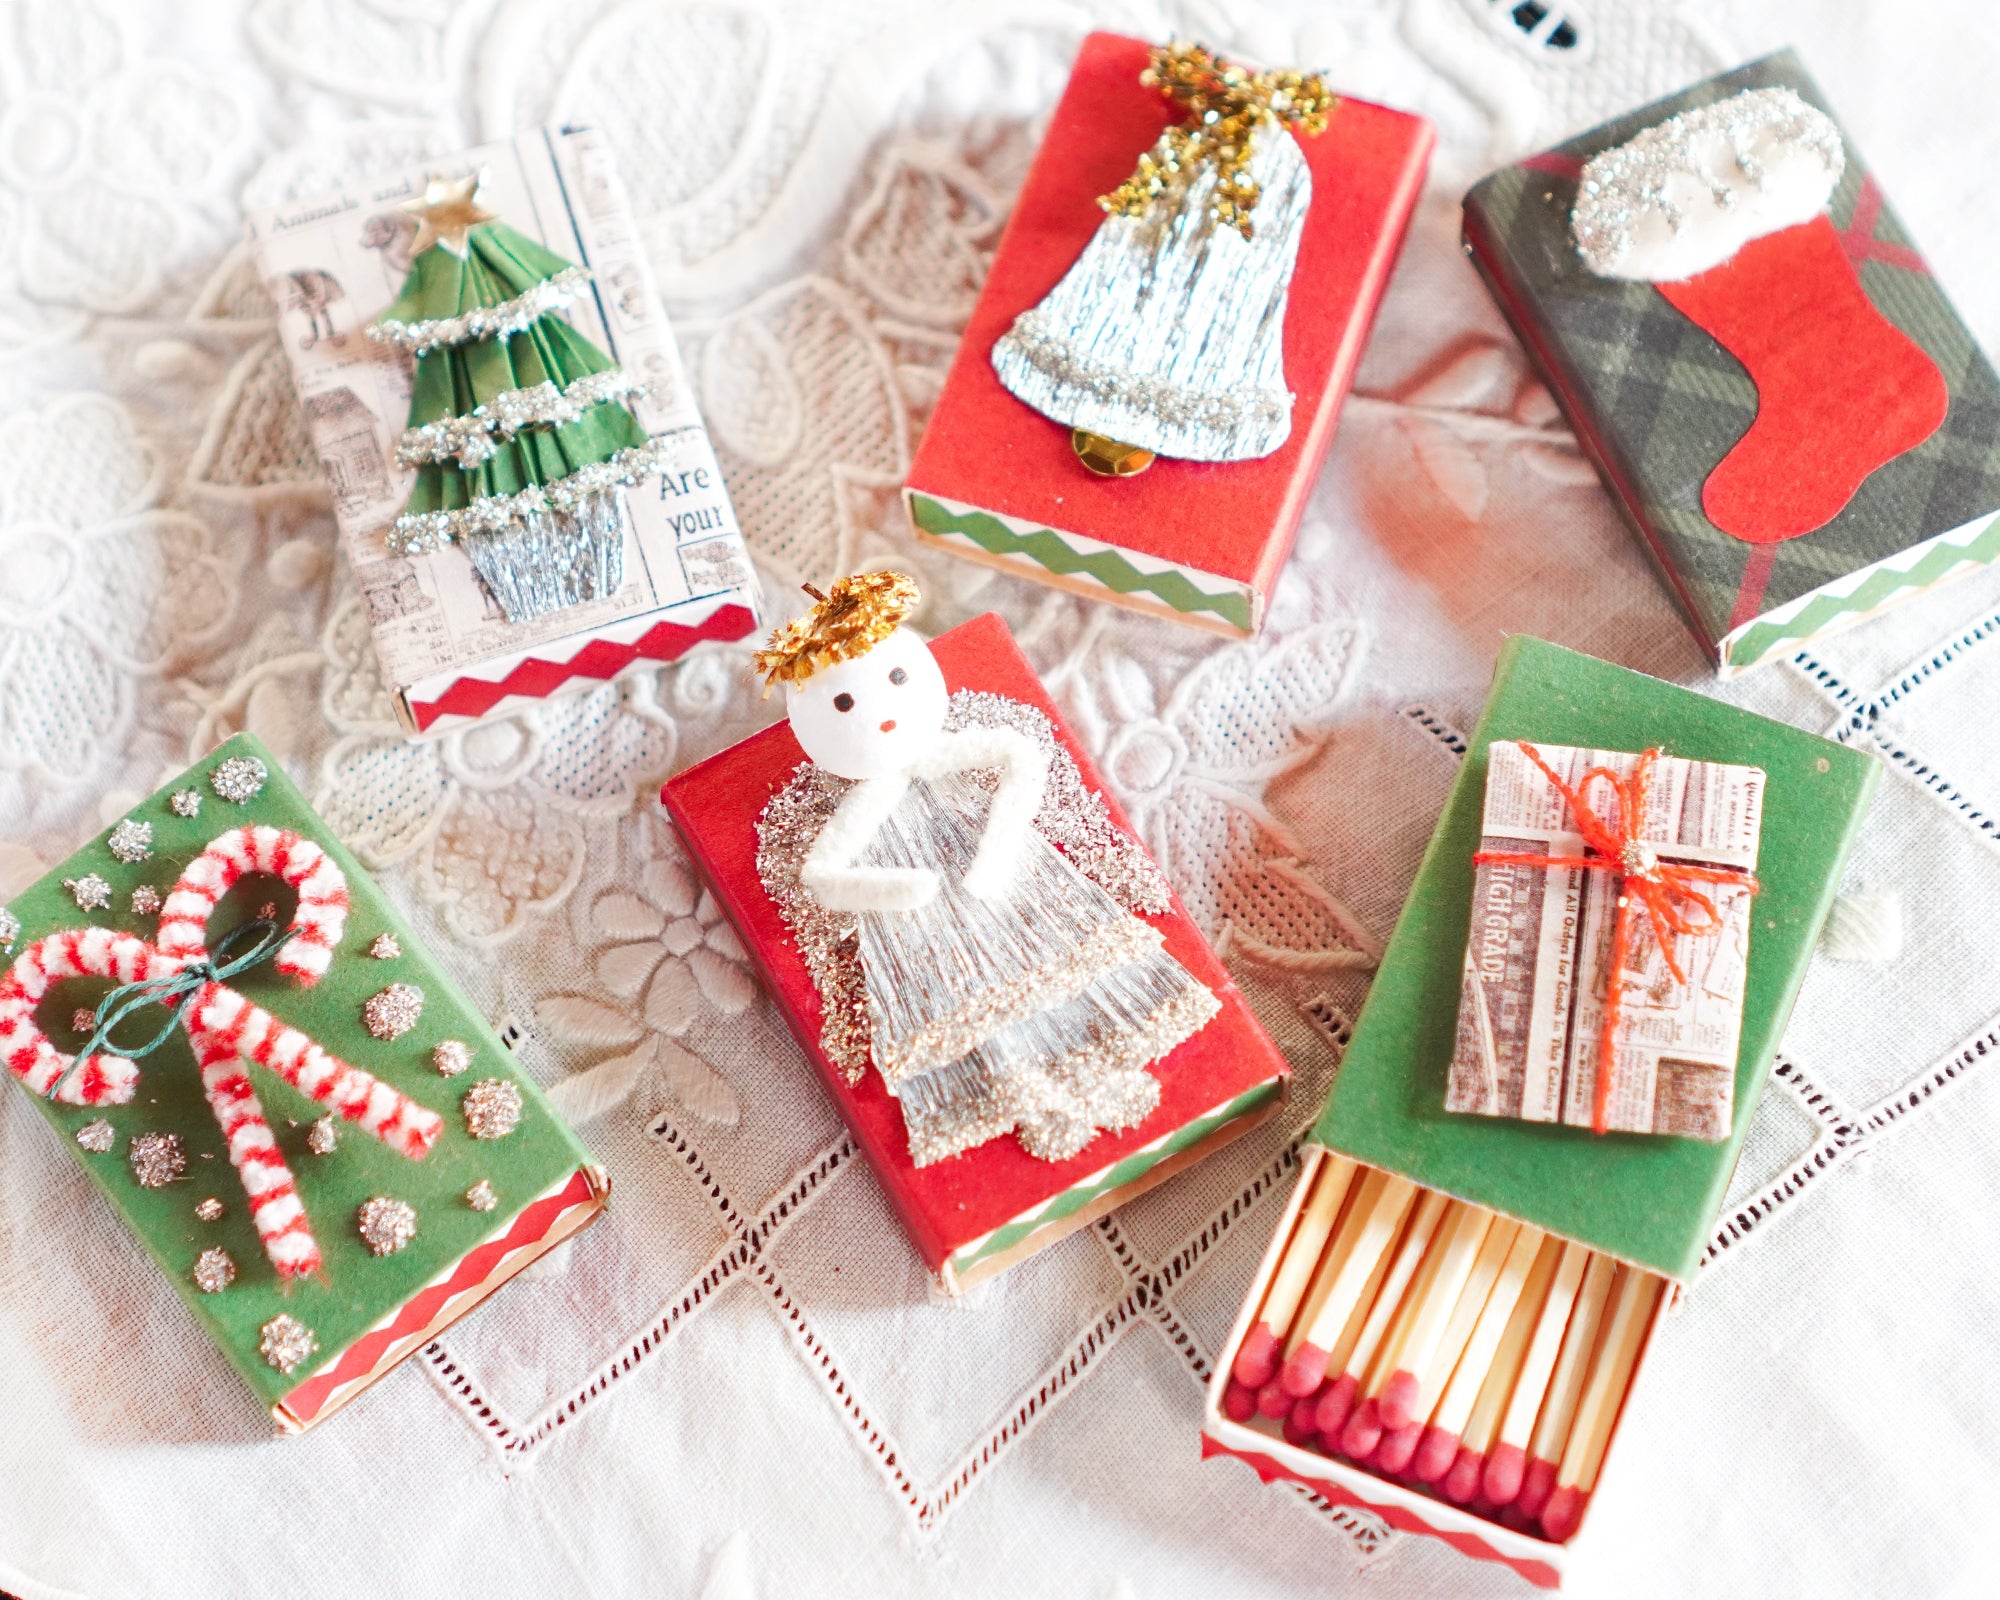
Every now and again I find vintage Made in Japan spun cotton doll heads, and I find them to be so charming. The faces were clearly done by hand so no two are alike. It used to be that you could buy little packets of these dime store heads at variety stores for making ornaments, package ties and tiny dolls. You would see angels, little ladies with curly hair, clowns, bunnies, Halloween cats, snowmen, Santas etc.

This year when I ordered my printed doll heads from the Czech Republic I asked for some plain heads in different colors and sizes so that faces could be added later with pens or paints. I got them in 18mm, 22mm, and 30mm sizes in cream, brown, and pink.
As an affiliate I may earn commission from qualifying purchases at no cost to you. I offer these tutorials for free, and your clicks support my work, thank you!
Supplies:
- Blank spun cotton doll heads: 18mm cream (classic Japan style, angel heads,) 22mm pink (bunny,) 22mm brown (flapper,) 30mm cream (Santa)
- Gel pens
- Powdered tempera
- Curly chenille
- Cotton pipe cleaners
- Medical cotton or cotton balls
- Glue stick
- Paintbrush
- Toothpicks, foam block
Favorite Materials:
I have experimented with a lot of different pens, pencils, and paints, and here is what I like best:
For drawing sharp lines a gel pen is ideal. Felt tip pens release a lot of ink and tend to feather and bleed. Gel pens leave their pigment on the surface and provide a nice clean line. Fine tip paint pens are also a good choice.
You can also use colored pencils and acrylic paints. For painting hair details I really enjoy using powdered tempera. You can mix the tempera thick or thin, depending on how much water you add, and I find that it is nicely opaque with little feathering at the edges. It dries matte and smooth with few brush strokes.
How to draw faces, my tips:
I find it easiest to start with the eyes or eyebrows, depending on the design. Drawing on a sphere can take some practice. As a right-handed person, I tend to start with the left eye, which is harder for me to draw, and then I can draw the right eye attempting to match the size and shape with the left.
Drawing the eyes first gives you a framework for adding a mouth and nose, and helps to keep everything symmetrical.
Expressions:
These faces are simple caricature designs. You can play with the proportions to create something artistically unique, i.e., making larger eyes with a smaller mouth, or small eyes with a wide mouth, and these small adjustments seem to express different emotions. Placing the eyes far apart vs. closer together also can evoke a 'relaxed' vs. 'alert' appearance. Some of the simplest vintage doll heads are made up of just three dots: two dots for eyes and a tiny dot for a mouth, and these can be applied with a toothpick dipped in paint. Faces do not have to be complex.
Mixing tempera for painting hair:
The jar of tempera powder has instructions that suggest mixing equal parts tempera and water, but I like to make my mix slightly thicker. You can experiment to see what consistency you enjoy the most, but do mix the paint thoroughly as it can be a little gritty.
Use a toothpick as a handle while you paint the hair, and then poke the toothpick into a foam block to allow it to dry. Tempera dries very quickly.
Hair trims:
You can explore different materials for hair. Curly chenille is a classic for angel heads, but you can also create hair from coiled pipe cleaners, tufts of wool or cotton roving, yarn, or felt. Fine glitter can also be applied to painted-on Elmer's glue.
Face Designs:
Classic Made in Japan dime store faces. These faces are drawn on 18mm blank heads with gel pens in black and red. The hair is painted on with tempera.

Flapper:
This 1920s-inspired design is drawn on a 22mm blank head with a black gel pen. The hair is painted on with tempera.

Pink Bunny:
This face could also be a cat if you apply different ears. I used a 22mm pink head, and drew the design with a black gel pen. The ears are cut from scrap paper. The lower edge is folded back just slightly, and then glued to the top of the head with a glue stick.

Classic angel heads:
These are simple angel faces drawn on 18mm heads with black and red gel pens. The hair is curly chenille. Bend the chenille into a zigzag pattern, or coil it into a pretzel shape before gluing to the top of the head.

Santa doll head:
This face was drawn on a 30mm blank head with black and red gel pens. A tuft of medical cotton or a piece of a cotton ball are glued to the face. A simple paper hat is fashioned from wrapping paper rolled into a cone. A glue stick is applied to the inner edge of the cone to attach it to the head. To finish, a cotton pipe cleaner is wrapped around the base of the hat and twisted together at the back.

What to do with doll heads?
You can create small figurines by adding bodies made out of cardstock rolled into cones, or larger spun cotton shapes. They can also be mounted on pipe cleaners, and then combined with materials like faux leaves to make package ties, corsages, or small ornaments.
Featured products:


