Bump Chenille Ornaments
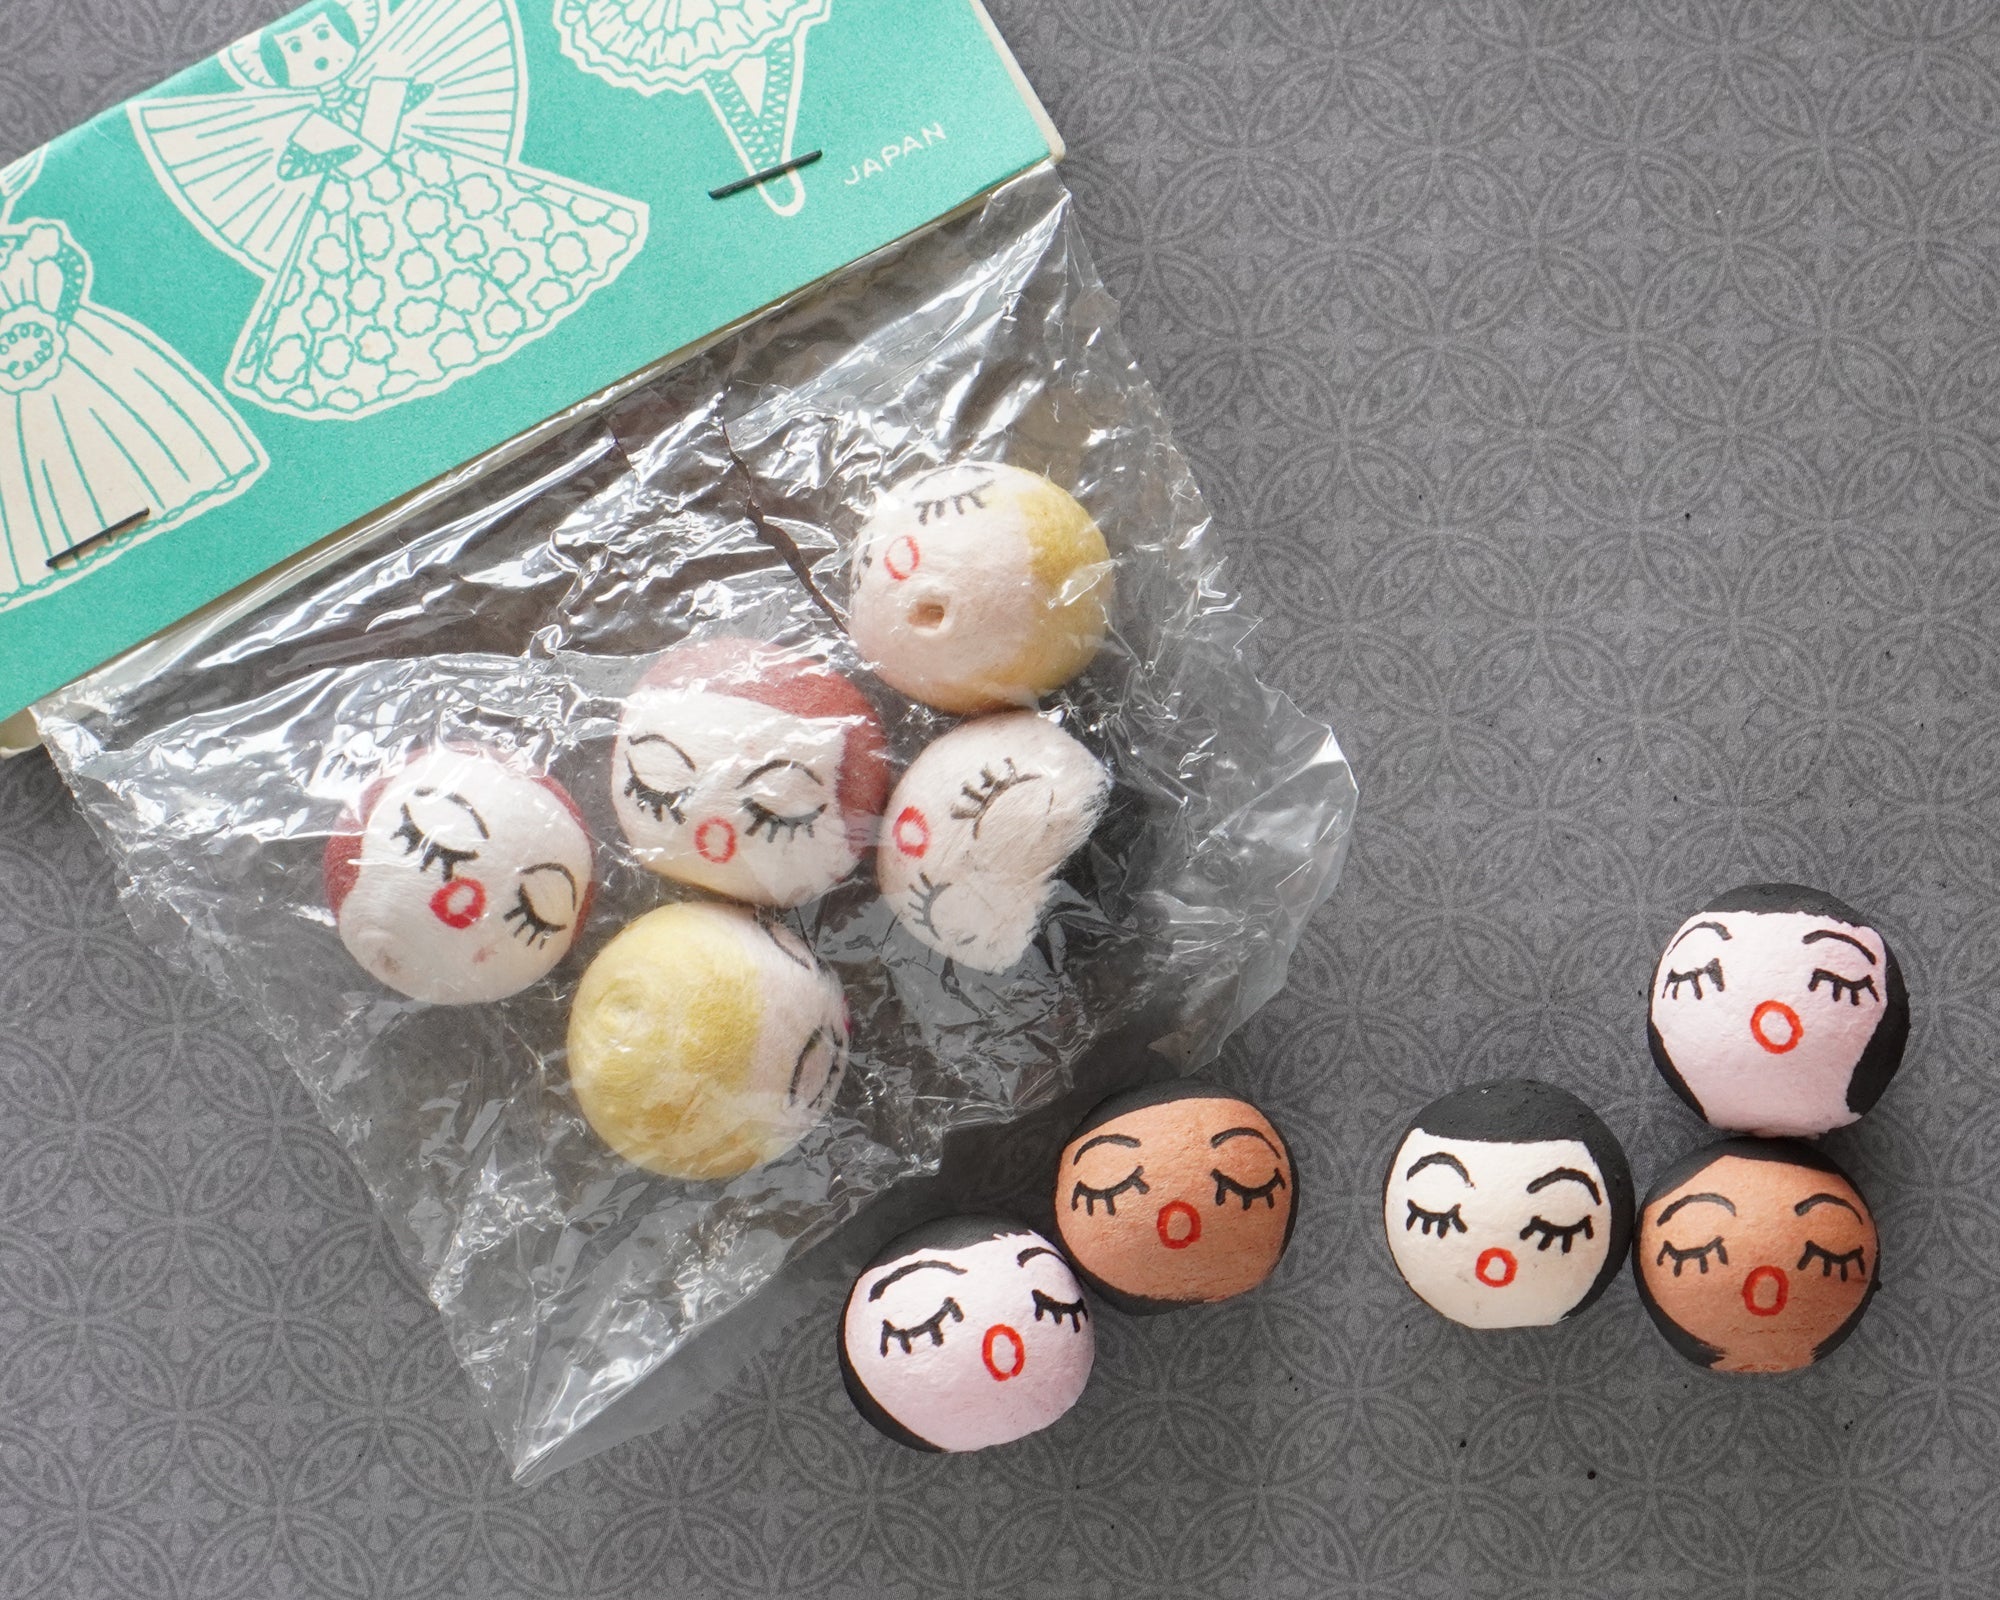
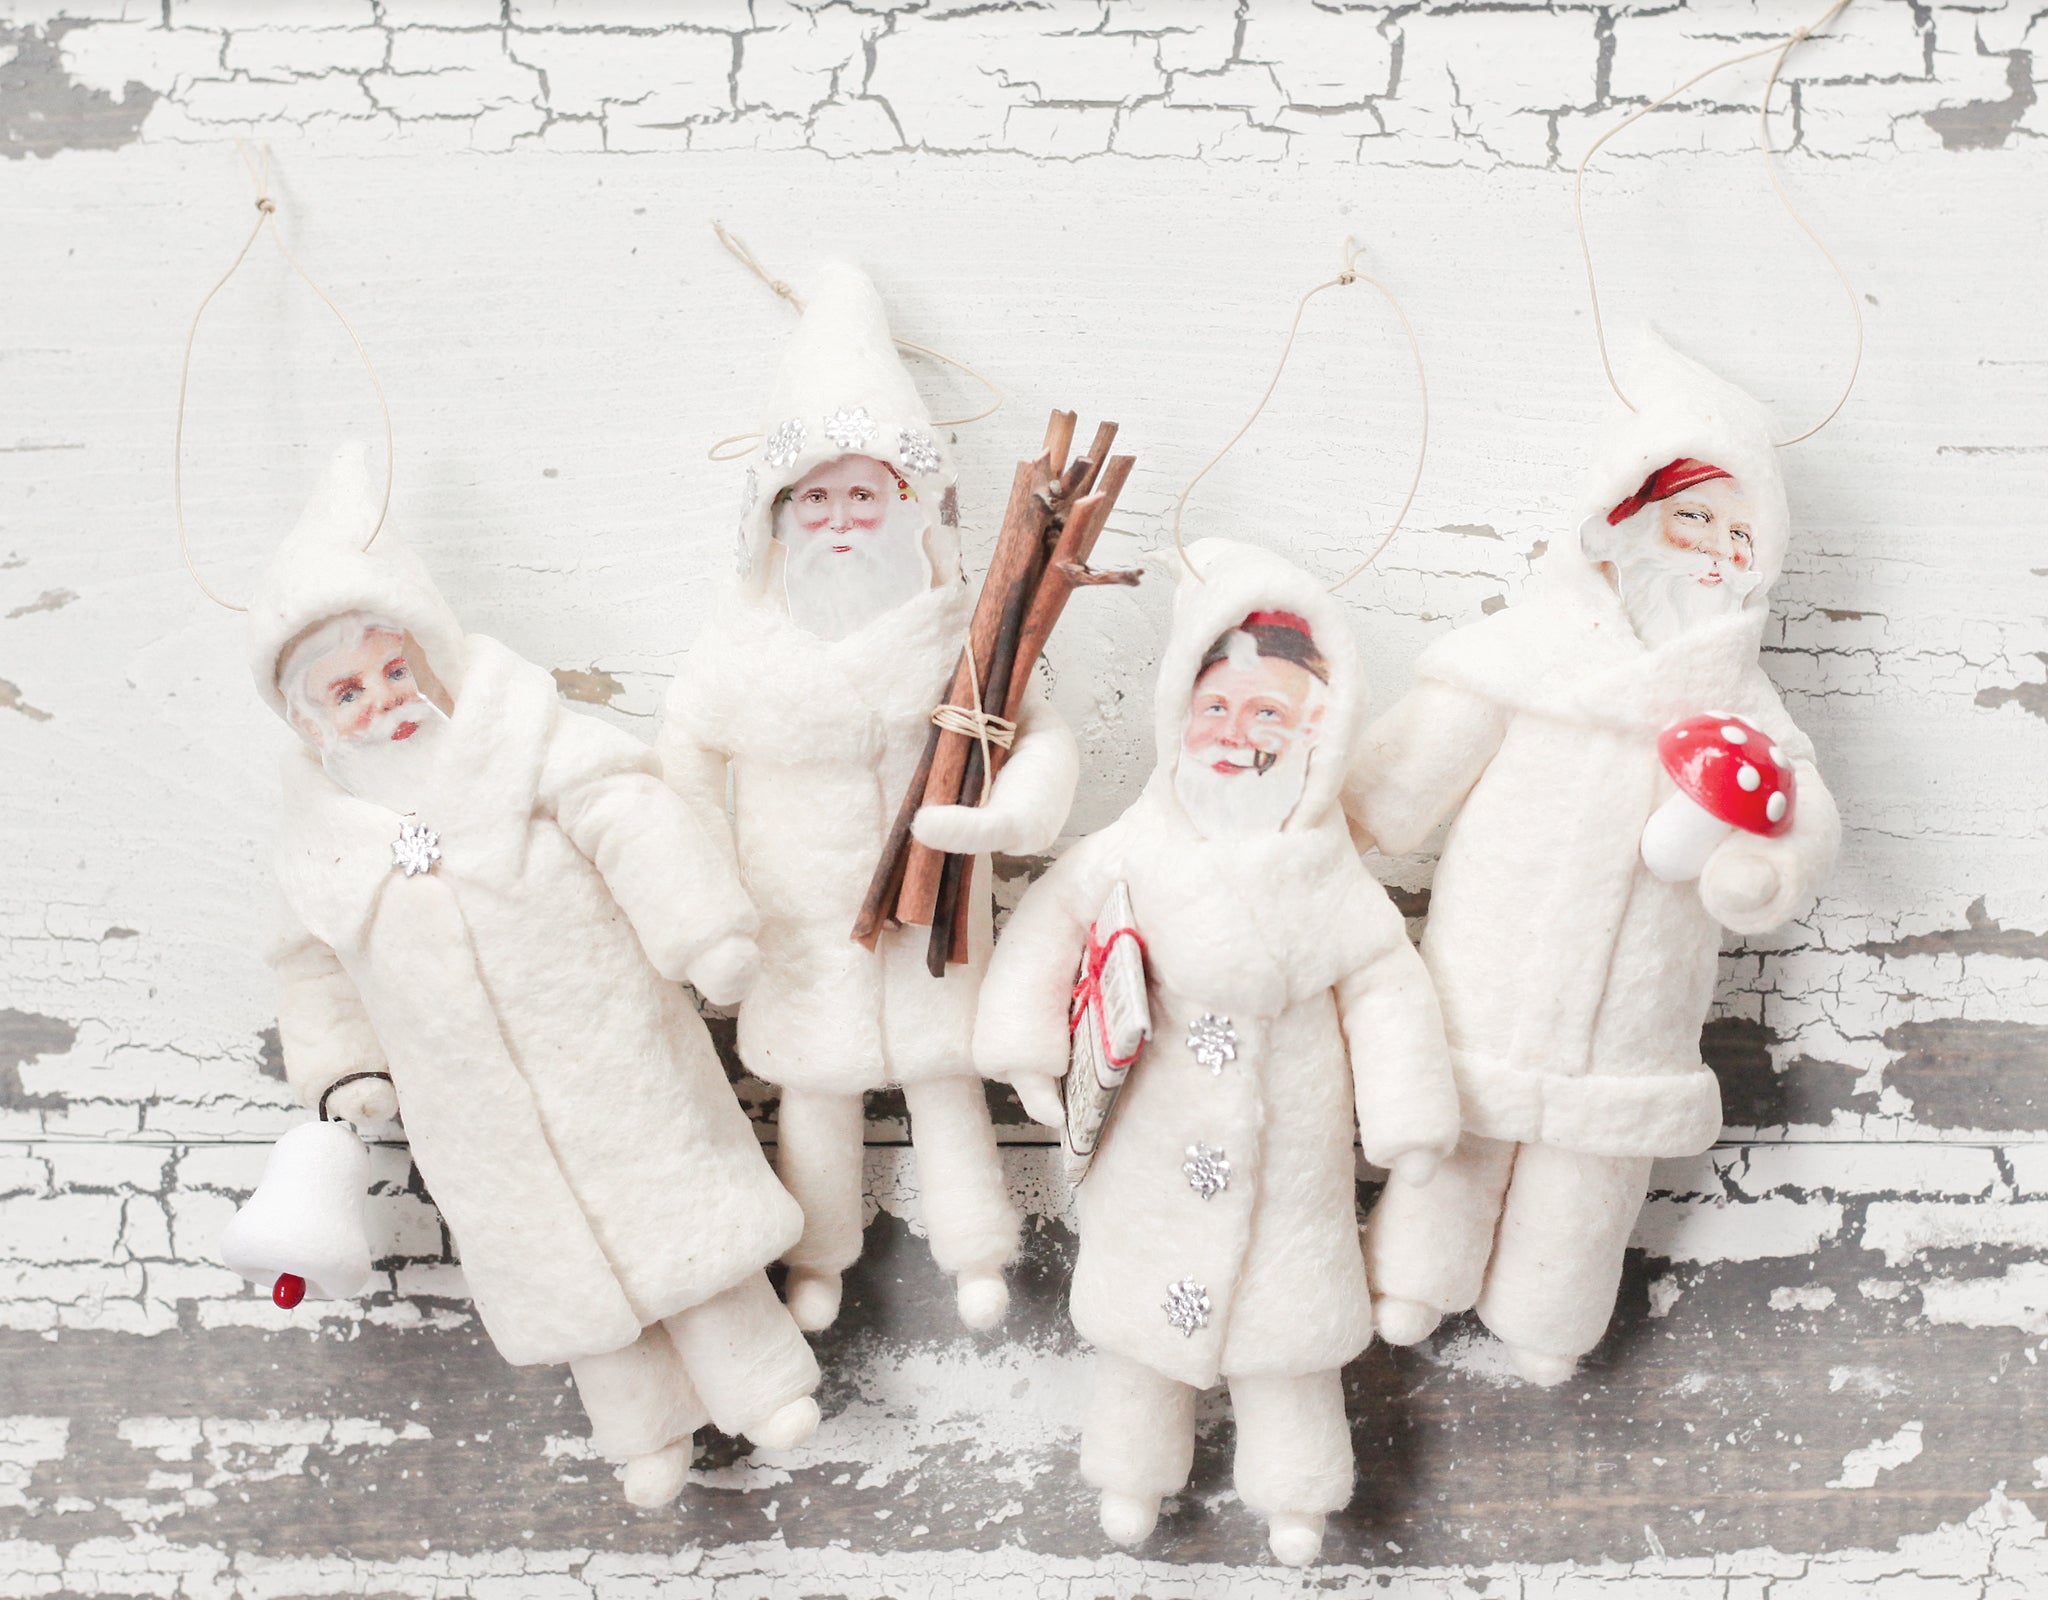
Let's make some vintage bump chenille Santa ornaments! This is a classic vintage Christmas craft. Sometimes called Clay Face Santas, you could buy Made-in-Japan chenille ornaments like this at the Five and Dime as early as the 1930s. The faces were indeed made of clay, rather primitively painted, and glued to figures of soft, wired chenille. The figures are whimsical and unique.
The new kit has materials to make 6 ornaments including specially made bump chenille and plastic Santa faces molded from vintage originals. You supply the glue. Get your kit here.
While supplies last I have put extra a-la-carte materials in the shop:
Long Bump Chenille in Red and Silver
Short Bump Chenille in Red and Silver
Choose an Adhesive:
For best results use a fast-drying liquid glue that is designed for use with plastics like Beacon 3-in-1 Advanced Craft Glue. Hot glue may also be used, but do note that you only need a very small amount for assembly.
Part 1: Craft the Body
In your kit you will find a coiled length of long bump chenille. With scissors, cut a piece that is two-bumps long, snipping at the center of the skinniest part. Fold the two-bump segment in half, and pinch the folded end to form the peak of Santa’s hat. Cut off about ¾ inch from the loose ends, and bend each about ¼ inch from the ends to form feet.
Part 2: Add the Face and Arms
Apply glue to the back of a Santa face, and press it onto the body about one third of the way down from the top of the hat. Hold in place until the glue sets.
In your kit you will find shorter bump chenille to use for the arms. Snip off one bump segment, cutting across the center of the thinnest part. Apply a dot of glue just under the chin of the Santa face, and press the center of the short bump segment onto the body. Hold until the glue forms a bond. Allow the glue to dry.
Part 3: Adding Cotton Hat Trim and Beard
Bend the end of one of the cotton pipe cleaners into a horseshoe shape to fit around the edge of Santa’s face. Cut it to length, apply glue around the edge of the face, and press the bent pipe cleaner onto the glue. Hold until the glue forms a bond. Allow to dry.
From the square of cotton batting, tear a small triangle about 1 ½ inches long, and about ¾ inch wide. Apply glue to Santa’s chin, fold under the short edge of the triangle, and apply it to the face. Gently twist the lower point of the triangle, and roll under the edges to form a soft beard.
Finishing:
Give Santa a small item to hold from the remaining trim pack. Fold the end of Santa’s arm over the Candy Cane, Evergreen Sprig, or Mini Mushroom Stem. Glue in place. To hang, slide a metal ornament hook into the top of the hat for hanging, or add a loop of button thread.


